
Affiliate Disclosure: This article contains affiliate links. As an Amazon Associate and affiliate partner, I earn from qualifying purchases at no extra cost to you.
When a blade starts to lose its edge, “grinding it down with a power tool” and “hand-sharpening it on a stone” are actually two very different jobs. A bench grinder wheel is built for shaping and deburring metal, while a hand sharpening stone — used with oil or water — is what actually puts a fine edge on a knife, chisel, or plane blade.
 Mena
Hi, I’m Mena — a hybrid engineer working across mechanical and electrical fields. This time I’m comparing oil stones and water stones for hand-sharpening, and explaining how to pick the right grit.
If you want to grind or polish metal, reach for a bench-grinder wheel. If you actually want a sharp edge on a blade, that’s what the oil stones and water stones in this article are for. A lot of people who work with tools keep both around for their different jobs. If you just want the short answer, the cheat sheet below covers it.
Cheat Sheet: Which Stone for Which Job?
Before comparing products one by one, here’s a quick reference for which grit fits which use case (grit basics are explained further down).
| Use case | Recommended grit / stone |
|---|---|
| Everyday sharpening, stainless kitchen knife | Medium #1000 + finishing #3000–6000 |
| Everyday sharpening, carbon steel knife | Medium #800–1000 + finishing #3000 |
| Fixing a chipped or badly damaged edge | Start with coarse #120–400, then medium/finishing |
| Industrial use, deburring metal parts | Oil stone (coarse+fine combination) |
| Not sure which stone to buy first | A combination stone with medium + finishing in one |
| If you use a water stone at all | A flattening stone is a mandatory companion purchase |
Oil Stones vs. Water Stones — and How They Differ from Electric Grinding
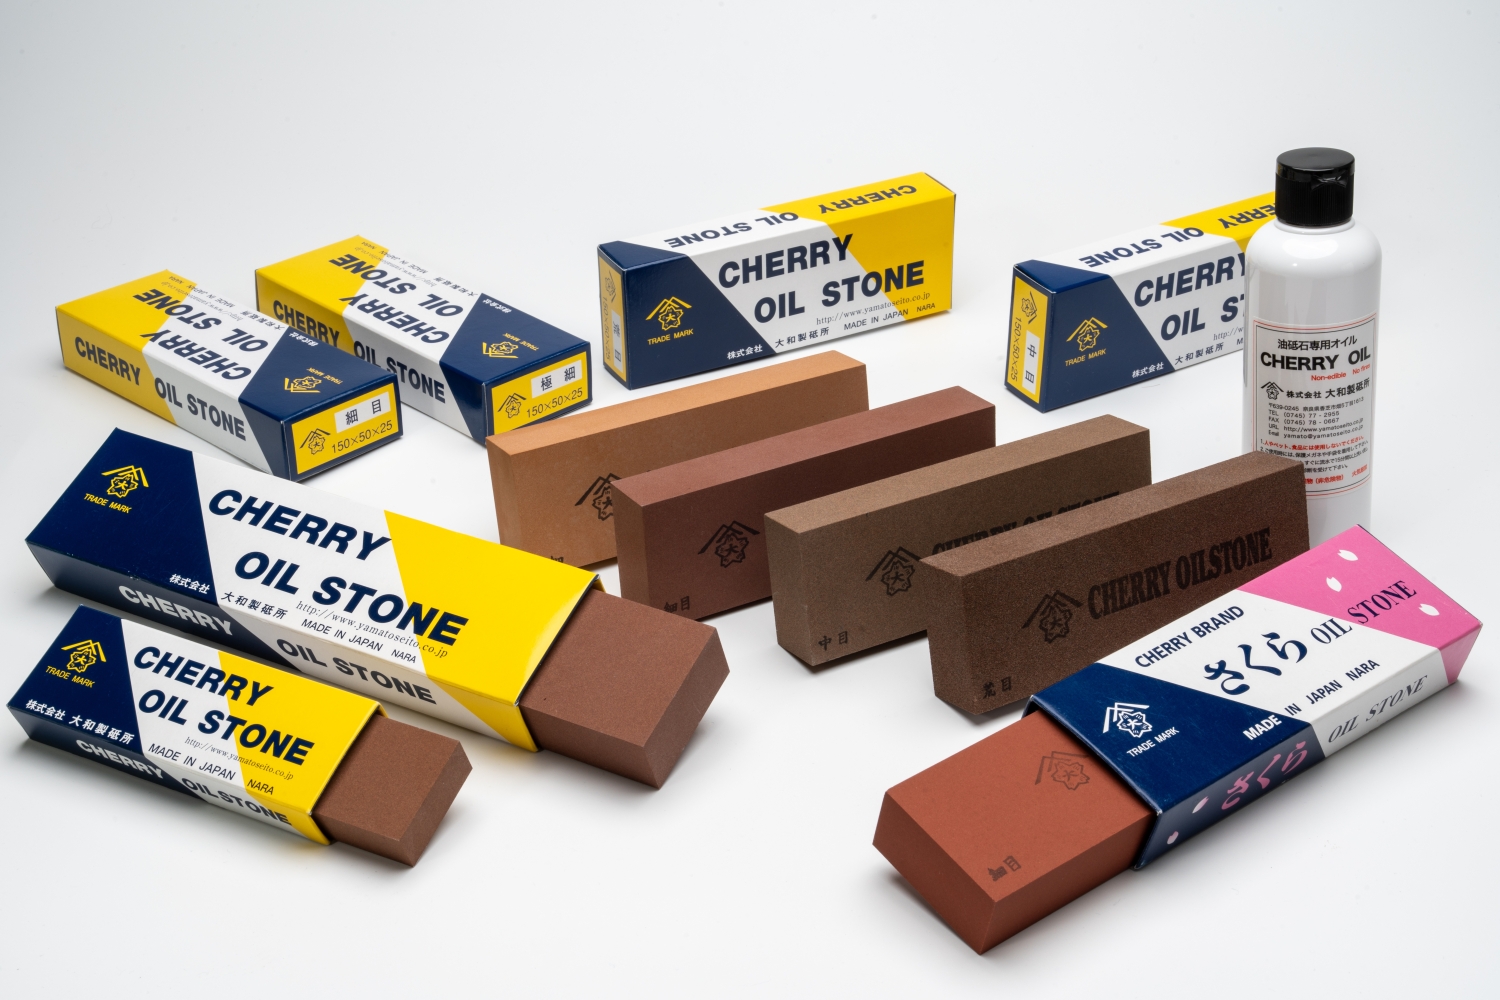
An oil stone is used with oil rather than water. It’s harder and wears down more slowly, which is why it’s the standard choice in metalworking and industrial settings. Water stones, soaked in water before use, are softer and produce more slurry (the mix of abrasive particles and water that forms as you sharpen) — which is exactly what makes them well suited to putting a fine edge on knives, chisels, and plane blades. Brands like King and Shapton fall into this water-stone category.
This article doesn’t cover grinding wheels for angle grinders or bench grinders (the high-speed rotating wheels used to cut or grind metal) — that’s a separate category covered elsewhere on this site. If you want to grind metal fast with a power tool, look for a grinder wheel guide instead; if you want to hand-sharpen a blade, the oil stones and water stones below are what you’re after.
Understanding Grit: Coarse, Medium, and Finishing Stones
The number one thing that trips people up when buying a sharpening stone is “grit.” Grit describes how coarse or fine the stone’s surface is — a lower number means a coarser, more aggressive stone; a higher number means a finer, smoother finish. Stones generally fall into three tiers:
- Coarse (roughly #120–#600) — for fixing chips or reshaping the edge entirely. Not needed for routine maintenance.
- Medium (roughly #800–#2000) — this is what most people picture when they think of “sharpening.” Around #1000 is the most versatile.
- Finishing (roughly #3000–#8000+) — refines the edge the medium stone created, improving sharpness and edge retention.
The exact numbers shift a bit between manufacturers, but once you understand this three-tier division, deciding which grit to add next becomes a lot easier.
Choosing by Blade Material: Stainless vs. Carbon Steel
Kitchen knives generally fall into two material families: stainless steel and carbon steel. Stainless steel’s chromium content makes it tougher and slower to wear down, but it also takes a bit longer to put an edge on. Carbon steel sharpens more easily and takes a keener edge, but it rusts more readily, so wiping it dry after use is essential. The same stones work for either material — with stainless, just spend a little more time on the medium-grit stage and the edge will come up just as easily.
3 Sharpening Stones, Compared
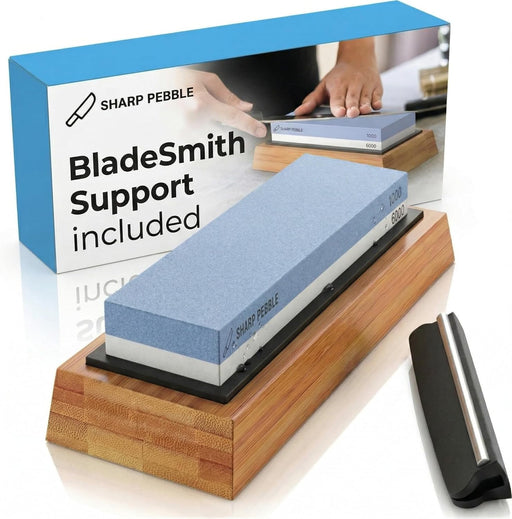
Sharp Pebble Dual-Grit Combination Whetstone #1000/#6000


 Mena
A combination stone is the easiest “first stone” to recommend — the case doubles as a base, so you can start sharpening the day it arrives.
This is a two-sided water stone with a medium #1000 face and a finishing #6000 face in one block, aimed squarely at knife, chisel, and plane sharpening. The bundled base/holder means there’s no separate stand to buy. Soak it in water and it’s ready to go — easier to get started with than an oil stone — but that softness also means it wears faster and needs regular flattening (restoring a dished surface back to flat, covered further down).
| Brand | Sharp Pebble |
| Grit | #1000 (medium) / #6000 (finishing), combination stone |
| Base | Included bamboo base doubles as a holder |
| Best for | A single first stone that covers medium + finishing |
After use, rinse it with water, let it air-dry somewhere with good airflow, and once the surface starts to dish, flatten it with a flattening stone (see below). Storing it wet inside a sealed case invites mold or chipping.
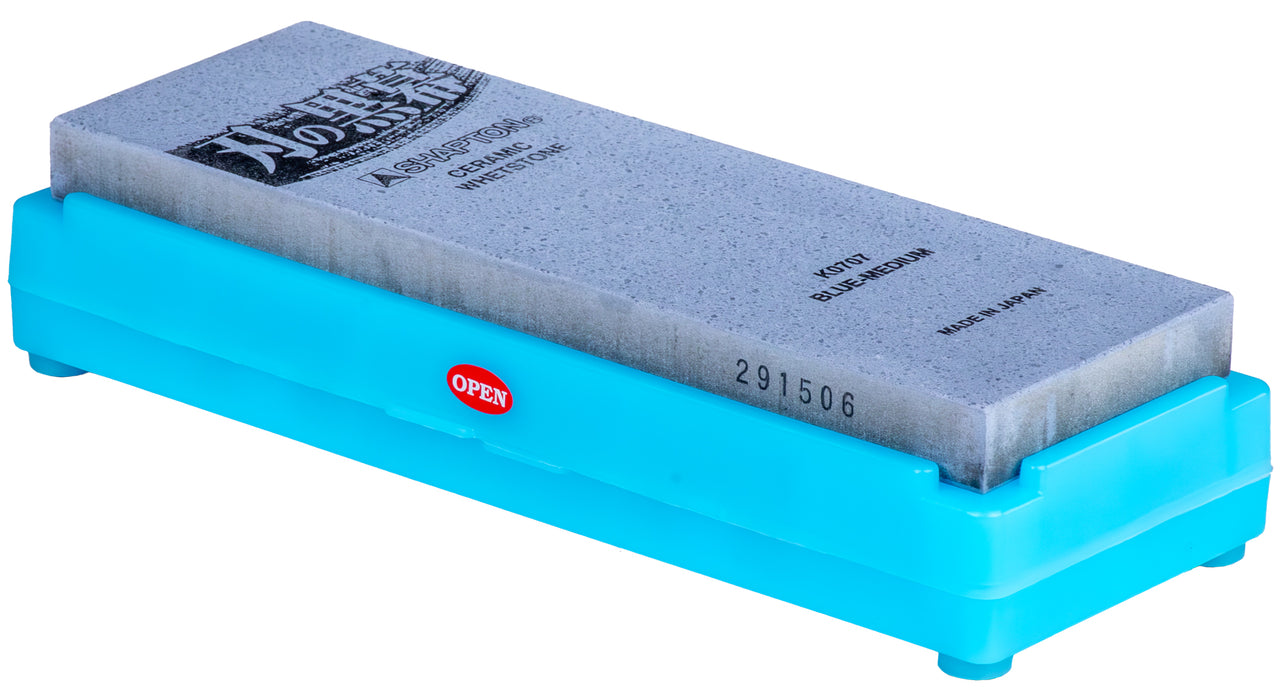
Shapton Ha No Kuromaku #1500 Ceramic Whetstone (Blue)


 Mena
Shapton’s ceramic stones barely need soaking — splash a little water on the surface and you can start sharpening right away.
Most natural and conventional water stones need a soak of several minutes to tens of minutes before use. Shapton’s Kuromaku line only needs a quick surface splash. The hard ceramic material resists wearing down and keeps cutting well as it’s used (what’s called good “swarf release” — spent abrasive grains shedding to expose fresh cutting surface). #1500 sits in the medium range and is well suited to routine touch-ups.
| Brand | Shapton |
| Grit | #1500 (medium) |
| Material | Hard ceramic |
| Best for | Quick, low-fuss routine sharpening |
It wears slowly thanks to the hard ceramic body, but the center will eventually dish with heavy use. If light reflecting off the sharpened face shows an uneven surface, that’s your cue to flatten it. Wipe off moisture after use and keep it out of direct sunlight to avoid cracking.
Choosing for Industrial Use: Metalworking and Deburring
Sharpening-stone advice tends to focus on kitchen knives, but for deburring metal parts or prepping jigs on the shop floor, an oil stone beats a water stone. Water stones wear faster because they produce more slurry as they cut; oil stones are harder and last much longer under continuous industrial use. They also throw off less mess, which matters when you’re working near a bench full of other tools.
Norton India Combination Oil Stone (Coarse/Fine)
 Mena
This type of oil stone is a solid choice for deburring metal parts or doing rough sharpening work — it holds up far better than a water stone under repeated use.
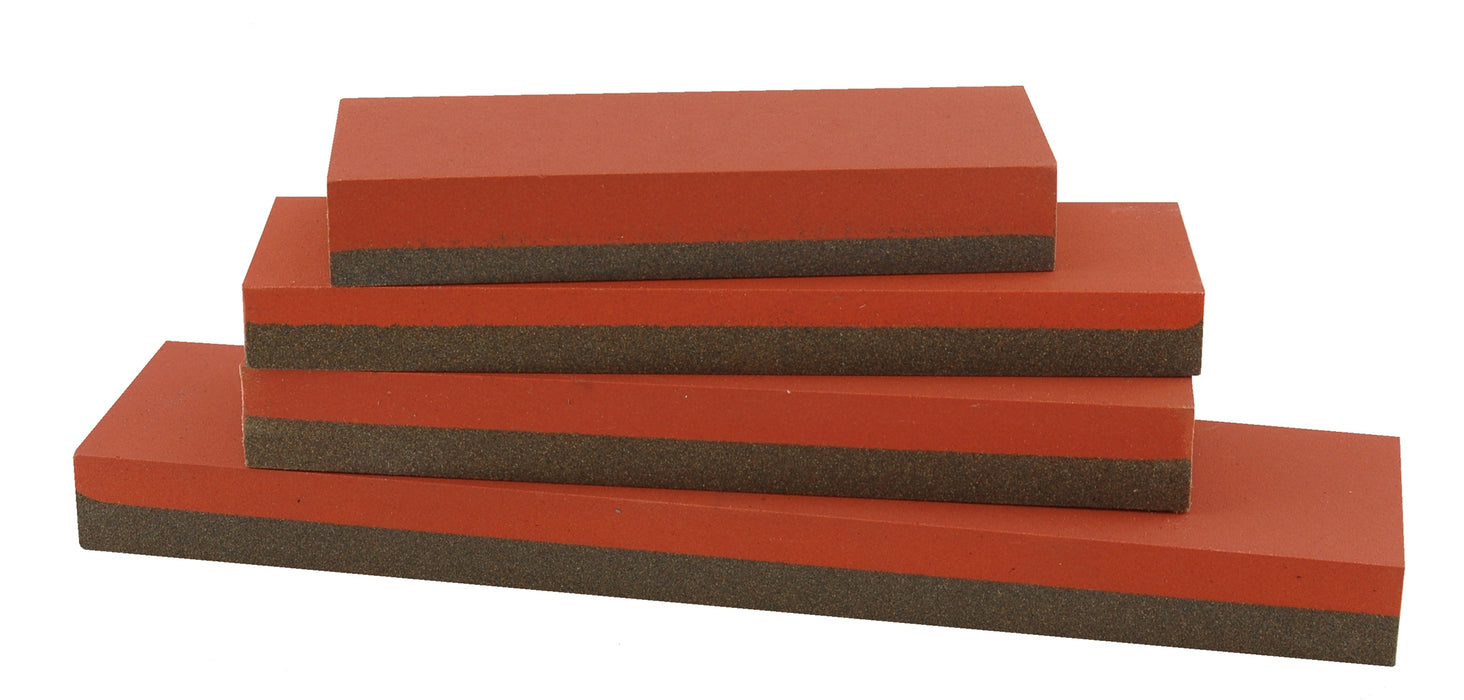
A two-sided combination oil stone with a coarse face and a fine face, letting one stone cover everything from initial shaping to just short of a final polish. Because it’s used with oil, it throws off very little mess — a real plus for keeping a workbench clean. The tradeoff versus a water stone is that clogging is a bit more of a hassle to clear, though keeping it lubricated with the right honing oil (below) helps prevent that.
| Brand | Norton |
| Grit | Coarse / Fine, combination stone |
| Material | Aluminum oxide |
| Best for | Industrial deburring and metal-parts work |
If it starts to feel clogged during use, add a few drops of honing oil and lightly work the surface to lift the swarf. After use, wipe the oil off with a dry cloth and store it somewhere dry — never rinse an oil stone with water, since trapped moisture can cause cracking or discoloration.
Grit Combinations: What to Buy First, Second, Third
The basic routine is the same either way: wet the stone with water (or a few drops of honing oil for an oil stone), sharpen on the medium stone, then refine on the finishing stone. The part people get stuck on is how many stones they actually need, so here’s a practical buying order.
- Stone 1: A medium stone around #1000 (a combination stone covers medium + finishing in one purchase). This alone handles most routine sharpening.
- Stone 2: A finishing stone, #3000–6000. Smooths out the coarser scratches left by the medium stone and extends how long the edge stays sharp.
- Stone 3 (only if you need it): A coarse stone, #120–400. Only relevant for fixing a chipped edge or reshaping the bevel angle.
Two mistakes to avoid: sharpening on a finishing stone alone when the edge is already dull (it won’t actually cut a new edge, and you’ll just waste time), and jumping straight from a coarse stone to a finishing stone (the deep scratches from the coarse stone won’t come out, leaving an uneven edge). Always pass through a medium stone in between.
Maintenance: Flattening, Clogging, and Glazing
Every stone changes shape as you use it. Here are the main signs of wear and how to deal with them, for oil stones and water stones alike.
- Dishing — the center of the stone wears into a shallow dip. Left uncorrected, it stops you from sharpening a straight edge. A flattening stone restores it periodically.
- Clogging — swarf and debris fill the stone’s pores, cutting its abrasive power. For water stones, add water; for oil stones, add honing oil, then lightly work the surface to lift the debris.
- Glazing — the abrasive grains flatten out and stop cutting (the opposite problem: too little grain shedding). Usually caused by pressing too hard on a hard stone. Flattening restores a fresh cutting surface.
Accessories Worth Adding
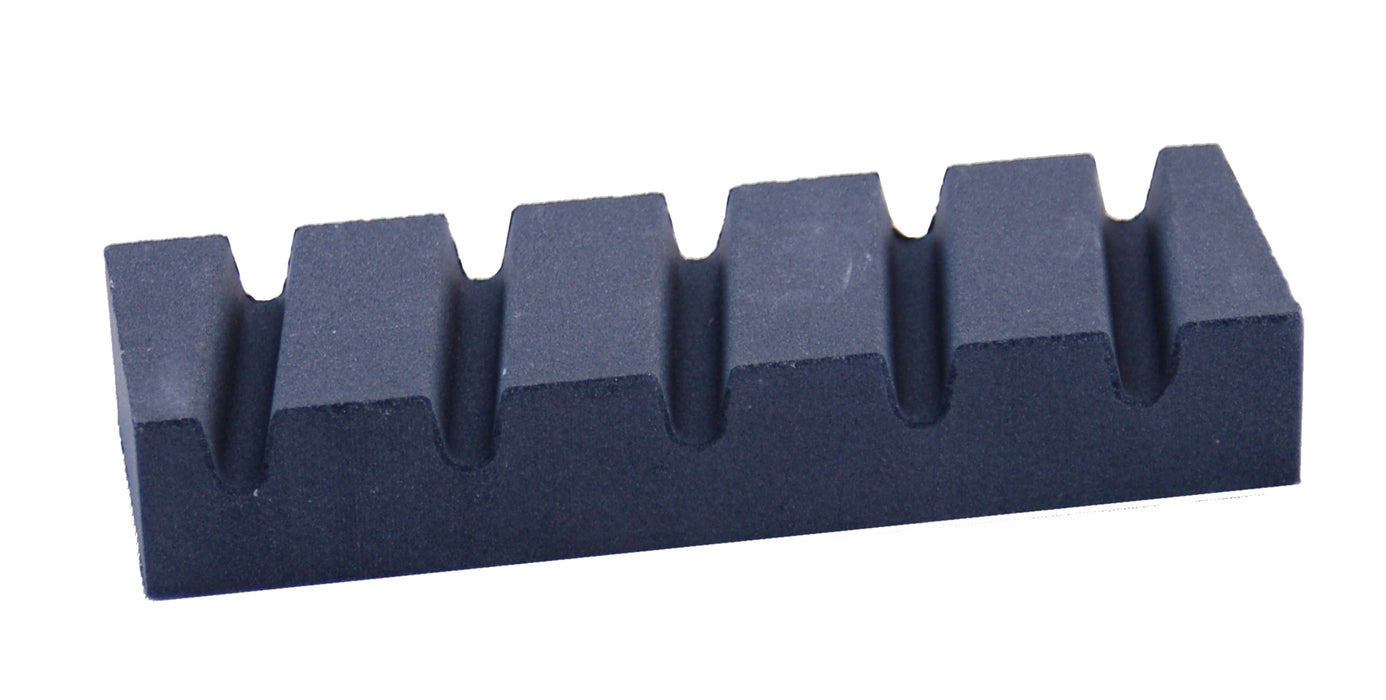
Naniwa Whetstone Flattening Stone, Grit 220

 Mena
If you’re going to use a water stone at all, get a flattening stone at the same time — skipping it means sharpening on a dished surface, which stops the edge from coming out straight.
A dedicated flattening stone for restoring a dished water stone (or knocking the edges off an oil stone) back to a flat, even surface. Wet it and work it in circular motions for a few tens of seconds and you’re done — a small, inexpensive accessory that’s worth keeping on hand for as long as you own a water stone.
| Brand | Naniwa |
| Grit | #220 |
| Use | Flattening water stones; knocking down oil stone edges |
| Best for | Anyone who owns a water stone |
Grits You Can Skip: Buy Only What You Actually Need
It’s tempting to think “more grits is always better,” but for home use that quickly turns into overspending. Being blunt about it:
- Ultra-fine #8000+ finishing stones are for professional cooks or sharpening hobbyists. A home kitchen knife gets plenty sharp with a #3000–6000 finish.
- Very coarse #100-ish stones are only needed for repairing chips — for a cheap, badly damaged knife, replacing it is often more practical.
- Multiple brands of medium stone add little — the same grit performs about the same across brands. You’ll learn a stone’s flattening rhythm faster by sticking with one.
Start with the cheat sheet at the top — one medium stone plus one finishing stone (or a single combination stone) — and only add more once you’ve actually used it and felt a real gap.
FAQ
Are dollar-store sharpening stones good enough?
They’ll work in a pinch, but grit labeling tends to be vague and the surface flatness isn’t consistent, so for anything you plan to keep using long-term, a stone with clearly specified grit like the ones in this article is the safer bet — especially if edge retention matters to you.
Are cheap hardware-store stones good enough?
A hardware-store medium stone around #1000 is genuinely usable as a first stone. The difference from a branded stone is mostly durability (how slowly it wears) and surface flatness, so if you sharpen often or use it for industrial work, upgrading to a branded stone is worth considering.
Can I use the same stone on stainless steel knives?
Yes — you don’t need a stainless-specific stone. The water stones in this article work on either material. Stainless can feel a little harder to sharpen than carbon steel, so spending a bit longer on the medium stone makes it easier to raise a good edge.
Electric sharpener or hand sharpening — which is better?
An electric sharpener wins on convenience, but hand sharpening lets you control the edge angle directly. If the job is mainly grinding or polishing metal, reach for a bench grinder wheel; if it’s putting an edge on a blade, that’s what the oil stones and water stones in this article are for.
How often should I flatten a stone?
It depends on how often you sharpen and how soft the stone is, but as a rough guide: a light flattening every time you use a medium stone, and once every several uses for a finishing stone. If the center of the sharpened face looks visibly dished, that’s your sign.
Bottom Line
Oil stones and water stones are for hand-sharpening a blade — a different job from the electric grinding a bench grinder wheel does. For industrial use, an oil stone like the Norton India is the standard; for putting an edge on a kitchen knife, chisel, or plane, a water stone like the Sharp Pebble combination stone or Shapton Kuromaku is the way to go, and if you’re using a water stone, pick up a flattening stone alongside it.
Start with the cheat sheet — one medium stone to begin with — and build out your kit around the three grit tiers (coarse to reshape, medium for routine sharpening, finishing to refine the edge) as you actually need them.